My 12-year old daughter was excited to get to review the Rigid Wrap and CelluClay Quik-Sculpting Kit by ACTÍVA Products.
WHAT IS IT?:
The Rigid Wrap and CelluClay Quik-Sculpting Kit is a creativity 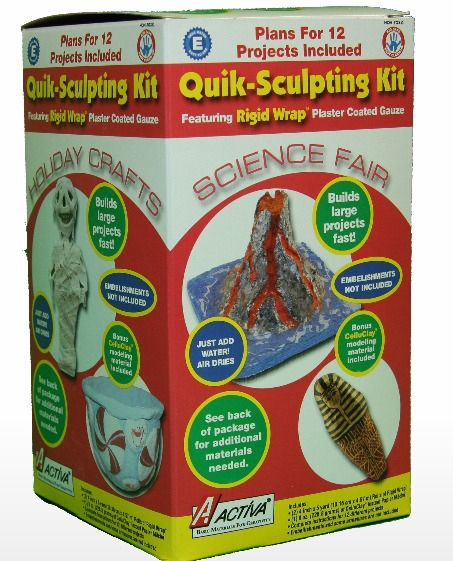 pack that includes two 4 inch x 5 yard rolls of Rigid Wrap, one 8-oz. bag of CelluClay Instant Paper Mache, and access to complete instructions for twelve different projects.
This package is sure to inspire hours of creativity and fun in your children! With so much material included in this one box, your child can makes lots of different projects and still have plenty of supplies left for future projects as they come up with their own ideas or use the ones included. This kit is available for just $11.90!
You can have your FREE ebook called ACTÍVA Products' Favorite Sculpture KIDS CRAFTS delivered right to your inbox with the full instructions for those twelve craft projects. It’s full of additional ideas for sculpting projects your kids can enjoy using both the Rigid Wrap and the CelluClay from the kit!
OUR EXPERIENCE:
Haylee loves any kind of art, and she likes to explore different kinds of materials, too. She’s used other Activa products in the past, such as the Color Plus Clay and the Rigid Wrap Plaster Cloth (which was a recommended supply item for the art curriculum we were using), and she has always enjoyed them. Activa offers a variety of materials, but this Quik-Sculpting Kit was neat because it included a combination of both the Rigid Wrap and the CelluClay! They can be used separately or together, so the possibilities are endless! You are only limited by your own imagination.


For her second project, she used the included printable pattern from the ebook to make the “beautiful butterfly.” She used the pattern to cut out the butterfly shape from a piece of thick cardboard. Then she wrapped it in wet strips of the Rigid Wrap. She made sure the surface was nice and smooth. She used a strip to make the shape of the head and body and applied it to the body. When it was dry, she painted it. It turned out so cute!
For her thir
Next, she started a fourth project of her own design. She wanted to make a simple smiley face plaque out of the CelluClay material. She mixed up a small batch using the powdered material and water by simply blending it in a container with her hands. It’s easy to adjust the texture of the paper mache. If you need to make it thicker, just add more powder. If you need it thinner, just add more water until you reach the desired consistency. She shaped it by hand and left it to air dry. To speed up the drying process, you can bake it on the lowest setting of your oven with the door slightly ajar. Her smiley face wasn’t quite dry enough paint yet, so I’m not including a picture just yet. She said the material was easy to blend and shape. You can mold it with your hands, with tools when it starts to harden slightly, or by putting it into a plastic mold. You can even dip stamps in water and make impressions with them!
These materials are so ve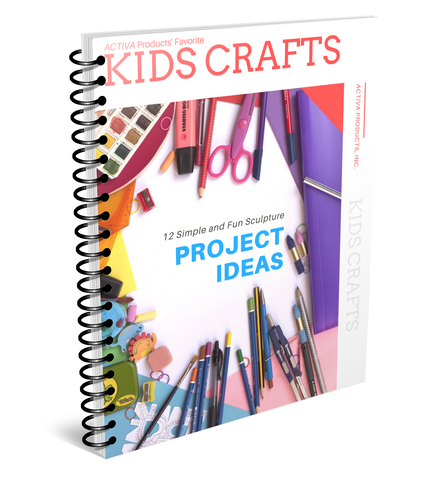 rsatile. I’m sure your kids will come up with lots of creations using them! The free ebook includes project instructions for things like an erupting volcano, an Egyptian sarcophagus, a mummy, a totem pole, a Mardi Gras mask, or a holiday candy bowl! So you can make projects related to your homeschool studies or just for fun. Just think of all the possibilities! I know Haylee will be having fun with this kit for at least the rest of the summer. It’s a great boredom buster!
Take a look at what other Crew members have to say about this kit by clicking the banner below.


No comments:
Post a Comment