
We recently tried out the Timeline Builder for iPad by Knowledge Quest.
WHAT IS IT?:
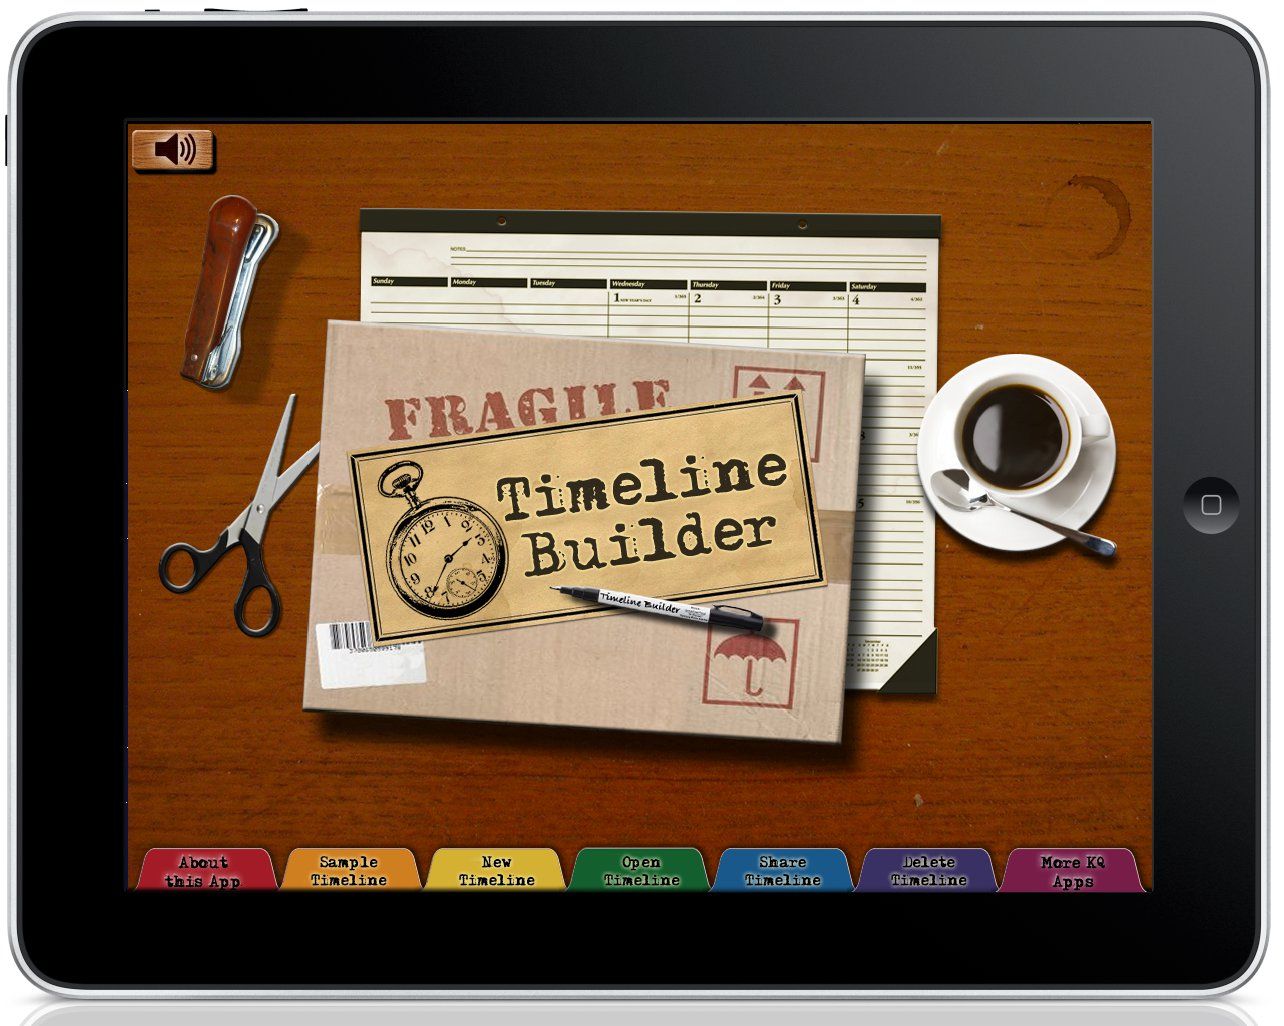
Timeline Builder is a unique and versatile app that allows users to create their own digital timelines. It’s very intuitive and user-friendly and allows users to:
- Set a beginning and ending date for the timeline
- Add events where you want
- Manipulate image size and placement
- Edit your timeline by:
- adding, editing, or deleting events
- adding or swapping images
- resizing or repositioning images and timeline events
This wonderful tool can be used while studying any time period in history, science, or literature. Outside of educational applications, it could also be used to document family lines and progressions for genealogy purposes or by professionals who need to keep a running timeline of events for business purposes.
 As you work on building timelines, they are saved automatically and can be shared to your image library, via email, or with other users of Timeline Builder.
This versatile app is available in the iTunes App Store for a special introductory Early Bird price of just $4.99. After the special ends, it will go up to the regular price of $6.99, so get it now!
Watch this video demonstration.
OUR EXPERIENCE:
Let me start by saying that our core curriculum recommends keeping a timeline of historical events as we work our way through history from year to year. That being said, it’s just one of those things for which I never seem to have the time! Our core comes with little sheets of black and white images on sticker paper that we’re supposed to cut out and paste into a timeline book, but it’s just too much trouble to mess with for me So when I was offered the chance to review this digital timeline, it sounded right up my alley! At last, I may actually have time to work with the kids in keeping a timeline!
I was anxious to give this a try, so I sat right down with it the day I downloaded the app and got  right to work. I opened the app and was immediately walked through preparing a sample timeline…a practice run, if you will, before beginning my own customized timeline. I made a quick sample and then was ready to start my real one. First, I started by choosing a background and filling in a few boxes to give my timeline a name and designate the start and end dates. Then I was ready to start adding events! To be honest, the whole program is so self-explanatory that I didn’t even need instructions to get started.
At the top of the timeline screen, there are little buttons for adding a new event, hiding images, zooming in or out, and editing the timeline. I clicked on “new event” and was provided with some boxes to fill in. It asked me for an event name, a description (optional), a start date, an end date, and an image (optional). For images, I had the option of importing an image from my library, importing from the pasteboard (clipboard), deleting an image, or searching Wikipedia. I didn’t have my own images, so after I filled in the blanks, I selected “search Wikipedia.” Using the title I had entered, it showed me search results on the Wikipedia website. I selected a match and viewed the entry for an appropriate image. When I saw the image I wanted, I wasn’t sure what to do with it at first. A quick search on the internet of how to copy images on the iPad revealed that you simply hold your finger down until “save image” or “copy” options are shown. Select “copy” and return to the Timeline Builder App to select “import from pasteboard.”
Now this is where I ran into a little difficulty that first time. I had to play around with it a little bit, because I found that my images were not showing up in the little white box. I discovered that when I selected my image on Wikipedia, I needed to first tap the image and then tap it again until it was the only thing displayed on the screen. Then when I held my finger down and selected “copy,” it indeed was copied to the pasteboard. When I returned to Timeline Builder and imported it from the pasteboard, voilà! There it was! When the image I selected was too large, the app would automatically ask me if I wanted to resize it. I selected the 256x256 pixels size for my timeline images. Then it showed me the image in the little white box, and I clicked “done.”
Right there on my timeline, my events with titles and images began to appear, one by one, and they were easy to manipulate and reposition for more ideal placement. It became a simple daily task to enter my children’s timeline events each time their curriculum schedule noted it was time to do so. I even went back one evening and input the historical events for a quarter of the whole school year in one sitting! This app is that simple to use!
So my problem of not having time to keep up with a timeline is now officially solved! Not only that, but instead of drab black and white images pasted into a book, my kids now have this wonderful colorful timeline that they can refer to for years to come, and I don’t even have to worry about it getting misplaced! I highly recommend this handy little app to anyone who homeschools and desires to keep a running timeline.
Check out what other Crew members had to say about this app and another product by Knowledge Quest by clicking the banner below.


Good review Kelly! We never get to the timeline either but I do have a huge fold out timeline we like to look at from time to time. It extends across the whole room! I might have to try this out.
ReplyDeleteIt's only $4.99 right now as an introductory price instead of $6.99, so check it out while it's still on sale!
DeleteLove your screen shots!
ReplyDeleteThank you! I actually swiped the screen shots from the KQ website because I thought they did a good job of showing the layout and the process of adding events.
DeleteCould you share more details about the user interface of Timeline Builder for iPad? How intuitive is it for users? greeting Telkom University
ReplyDelete